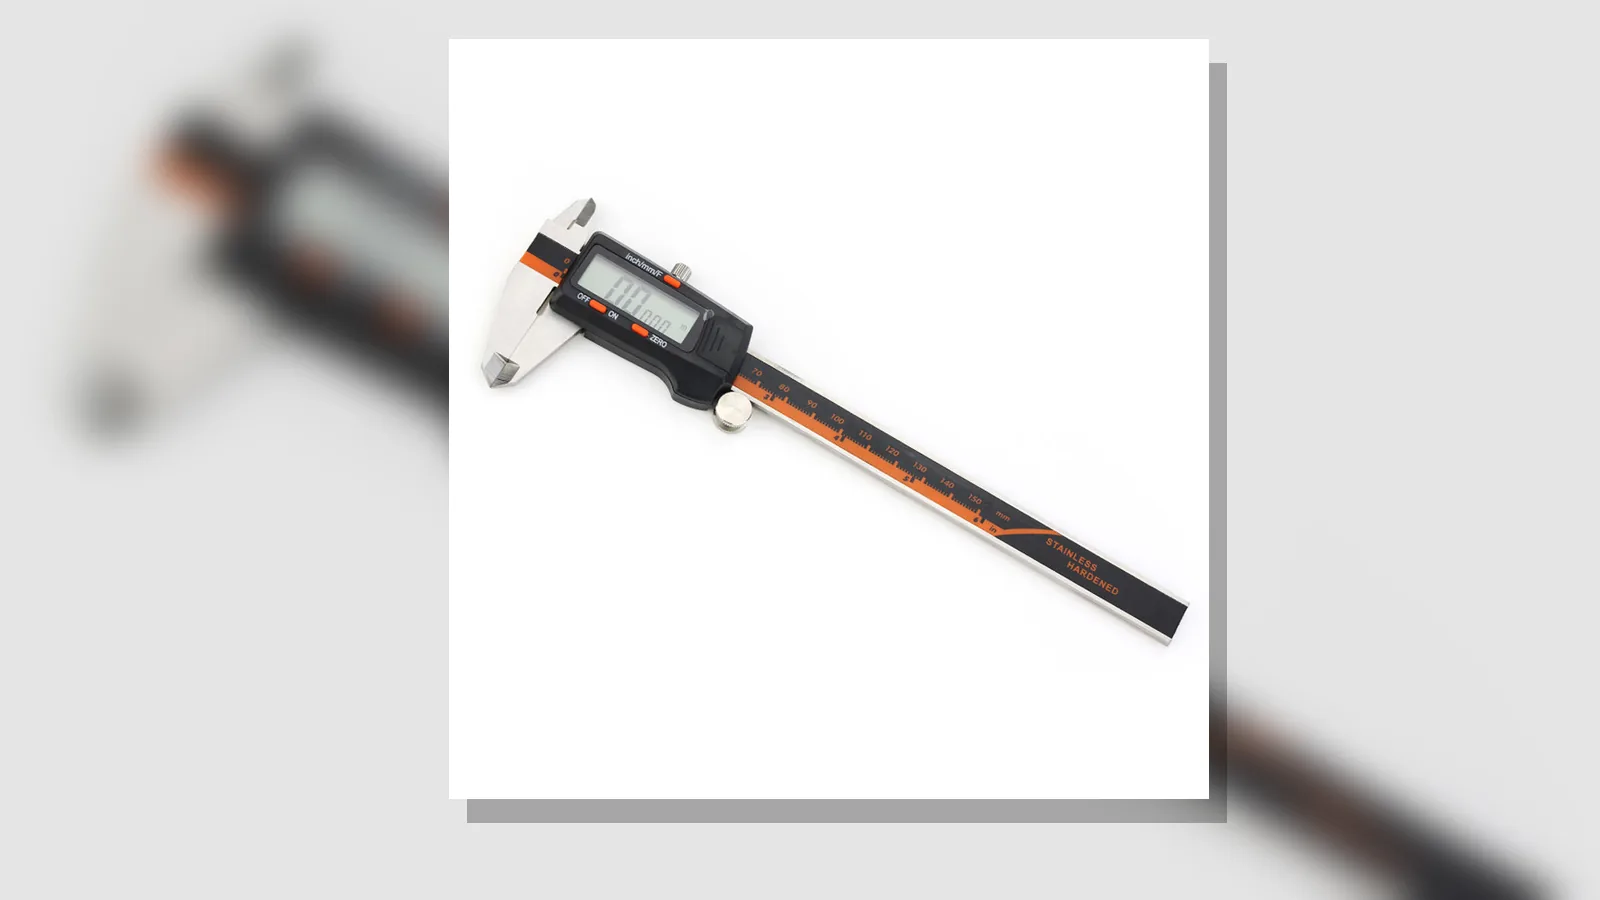
How to measure a step with digital caliper
Use the offset rear faces when the workpiece gives you two clean, flat steps; do not rely on the jaws or the depth rod as the primary contact points for a step reading.
Answer first: use the offset rear faces, not the jaws or depth rod, when the geometry provides two clean steps
This method suits shoulders, rebates and grooves where the caliper can sit flat on both reference surfaces. The aim is simple: place the rear step faces against the two levels, keep the tool square, and read the measurement without forcing the instrument into the work.
Identify the fixed and sliding step faces
On a digital caliper, the step-measuring contact is at the rear of the tool rather than at the main outside jaws. Identify which face stays fixed and which face moves with the slider so you can place each one on the matching step surface. The key is to understand which face belongs on the upper step and which reaches the lower step.
Seat both faces fully against their reference surfaces
Set the tool so both step faces sit fully on the surfaces that define the offset. If either face is perched on an edge, burr, or rounded corner, the reading will not reflect the step cleanly. A proper seat is flat, stable, and free from rocking.
Open the slider without rocking the tool
Move the slider until the opposite face reaches its contact point, but keep the caliper steady as you do so. Rocking the tool can change the contact and lead to a false reading. For best results, open the slider gradually, check the display, and then confirm the same contact again from the same position.
Repeat and compare with a depth method only where geometry permits
Repeat the step reading once the caliper is seated, then compare it with a depth reading only on a feature that genuinely allows both methods. Keep step measurement and depth-rod measurement separate in your mind: the rear faces are for steps, while the depth rod is for depth. Use the comparison as a check only when the shape makes that comparison sensible.
Set limits for rounded, narrow or obstructed steps
Do not force the caliper onto work that is too rounded, too narrow, or blocked by surrounding material. If the rear faces cannot sit cleanly, choose another method instead of trying to make the tool fit. Avoid moving or sharp workpieces, and do not treat this as a final acceptance check for machined parts.
If you are choosing a tool for this kind of work, view the current product details.