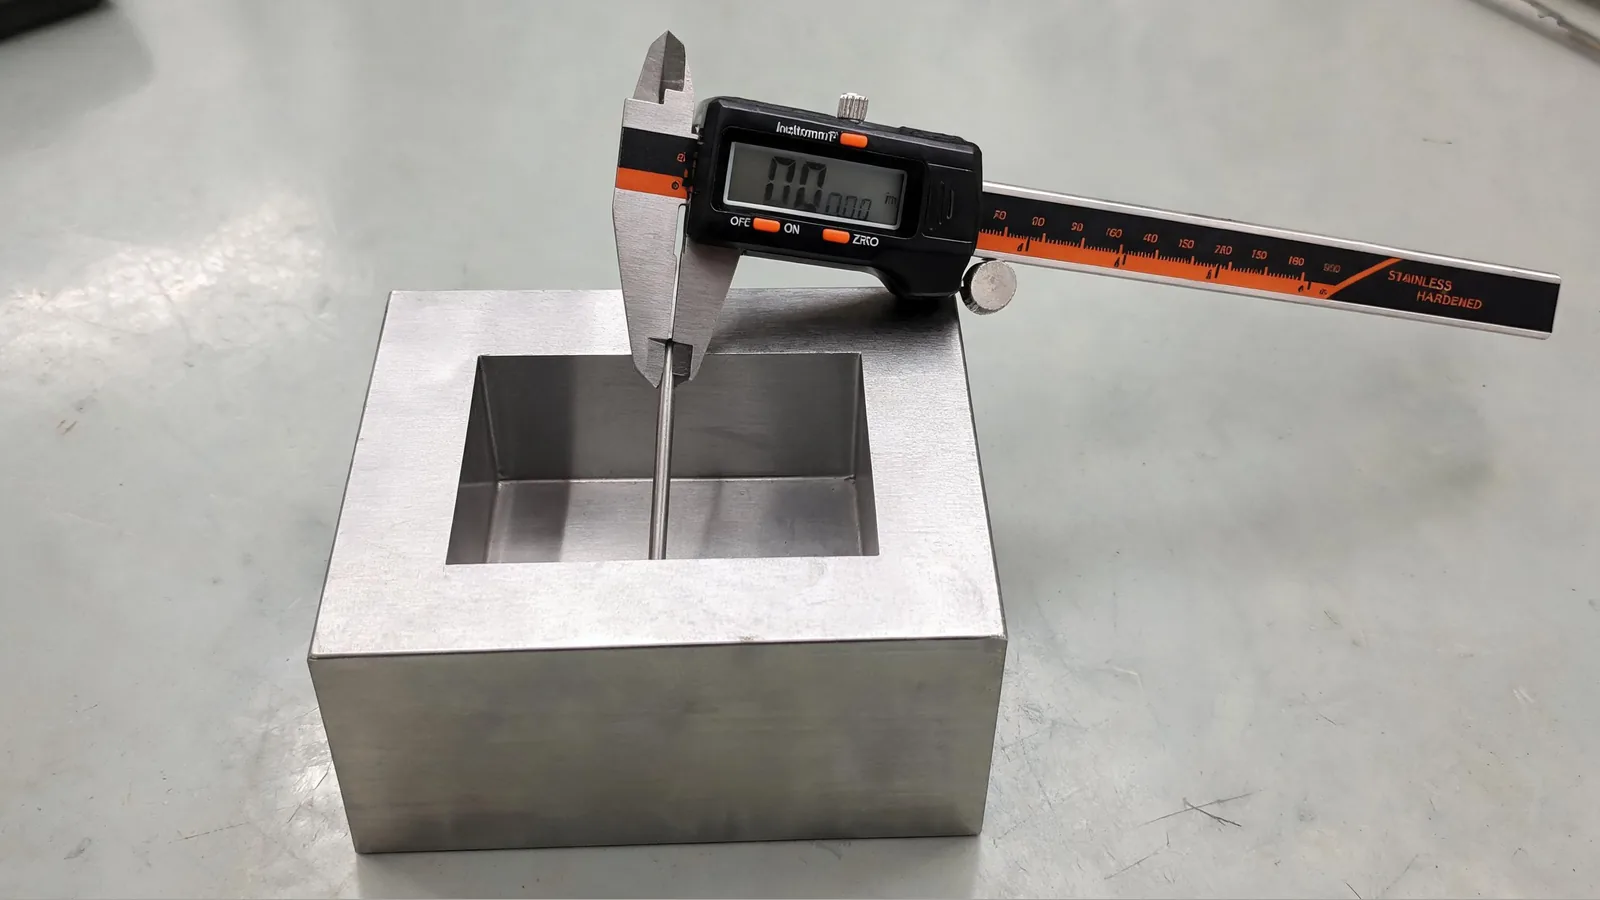
How to measure depth with digital caliper
To measure depth with a digital calliper, rest the beam square on the top reference surface and extend the depth rod to the bottom of the hole or gap without tilting the tool. That straight, seated setup is the difference between a clean reading and a misleading one.
Answer first: rest the beam square on the reference surface and extend the depth rod to the bottom
Place the fixed body of the calliper firmly across the opening so it sits flat, then lower the depth rod until it just touches the bottom. RS describes this same basic approach: the main bar rests on the top surface while the depth blade reaches the bottom of the feature being measured.
Keep the tool aligned so the rod travels straight down the centre line of the opening. If the body rocks, re-seat it before you trust the reading. A small angle at the top can change the apparent depth at the bottom.
Clean the reference surface and zero the calliper
Wipe away swarf, dust and coolant from the top face and the bottom of the cavity before you start. Any debris trapped under the beam or at the bottom of the hole adds error before the measurement even begins.
Once the jaws or beam are clean and fully closed in the usual way, zero the calliper so you know the display starts from a known point. NPL highlights the importance of equipment choice, care and measurement uncertainty for depth work, which is why a clean reference and a proper zero matter.
Keep the base fully seated while moving the slider
Move the slider slowly and keep light, controlled contact with the bottom. The beam should stay fully seated on the top face while the rod advances, rather than hovering, tipping or sliding across the edge.
If the opening is narrow, keep checking that the body is still flat before you settle on the final value. A stable seat at the top gives the depth rod a straight path to the bottom.
Avoid angled rods, rounded bottoms and debris
Do not rely on a reading if the rod is leaning, the bottom is rounded, or the cavity contains chips or other obstructions. In those cases, the rod may touch a side wall or bridge over the true bottom, which makes the result unreliable.
For a clean depth measurement, you need two clear contact points: one on the top reference surface and one at the bottom. If either point is unclear, the reading is only an approximation.
Repeat after rotating the tool when the geometry allows
If the shape of the opening allows it, take a second reading after rotating the calliper or approaching from a different orientation. When the geometry is symmetrical and the base still sits flat, this is a simple way to check that the setup is steady.
If the two readings agree closely, the seating is probably consistent. If they differ, the opening or the setup is likely influencing the result, so reset the tool and try again.
Explain when a dedicated depth gauge or formal method is more appropriate
When to switch tools
Use a dedicated depth gauge or a formal inspection method when the cavity is obstructed, the bottom is conical or rounded, or the measurement is part of a safety-critical acceptance check. This is also the safer choice for live machinery and hazardous cavities.
For those cases, a quick calliper check is not the right tool. The goal is not just a reading, but a measurement you can defend.
Explore the ACCUMEASURE product details if you want to review the current listing.